Install & Activate Emailify
Install & Run the Figma plugin
How to run Emailify inside of Figma
Activate Emailify Pro
How to buy and use a Pro license key
Using Emailify
Emailify Documentation
Detailed docs with short screencaps
Emailify Video Tutorials
Full step-by-step video walkthroughs
Frequently Asked Questions
Troubleshooting Emailify
Common issues issues you may run into
Emailify Security
Details about how Emailify works
Receipts
Find email receipts and PDF invoices
Billing
Manage your Pro subscription
License Seat Management
Manage the Figma users on your key
Emailify Free vs Pro
Compare Free vs Pro features
Emailify Features
- Quickly design emails using dozens of included common components.
- Add your own re-usable components with the custom component builder.
- Customise your text, images, styles and auto-layout settings with Figma.
- Includes 100+ free professionally designed Emailify-ready Figma templates for inspiration.
- Easily specify responsive design overrides (per layer) for mobile.
- Translate and localize your Figma email designs via Excel (XLSX) file export/import, or using the Lokalise API or Crowdin API, with optional Markdown formatting.
- Dark mode previews with custom color overrides and image swaps (for supported clients)
- Supports exporting animated GIFs from Figma layers in email designs.
- Preview your real HTML email at different device sizes directly inside the plugin.
- Supports Google font and custom font embeds (with configureable web safe fallbacks for unsupported clients).
- Easily design and export HTML email signatures
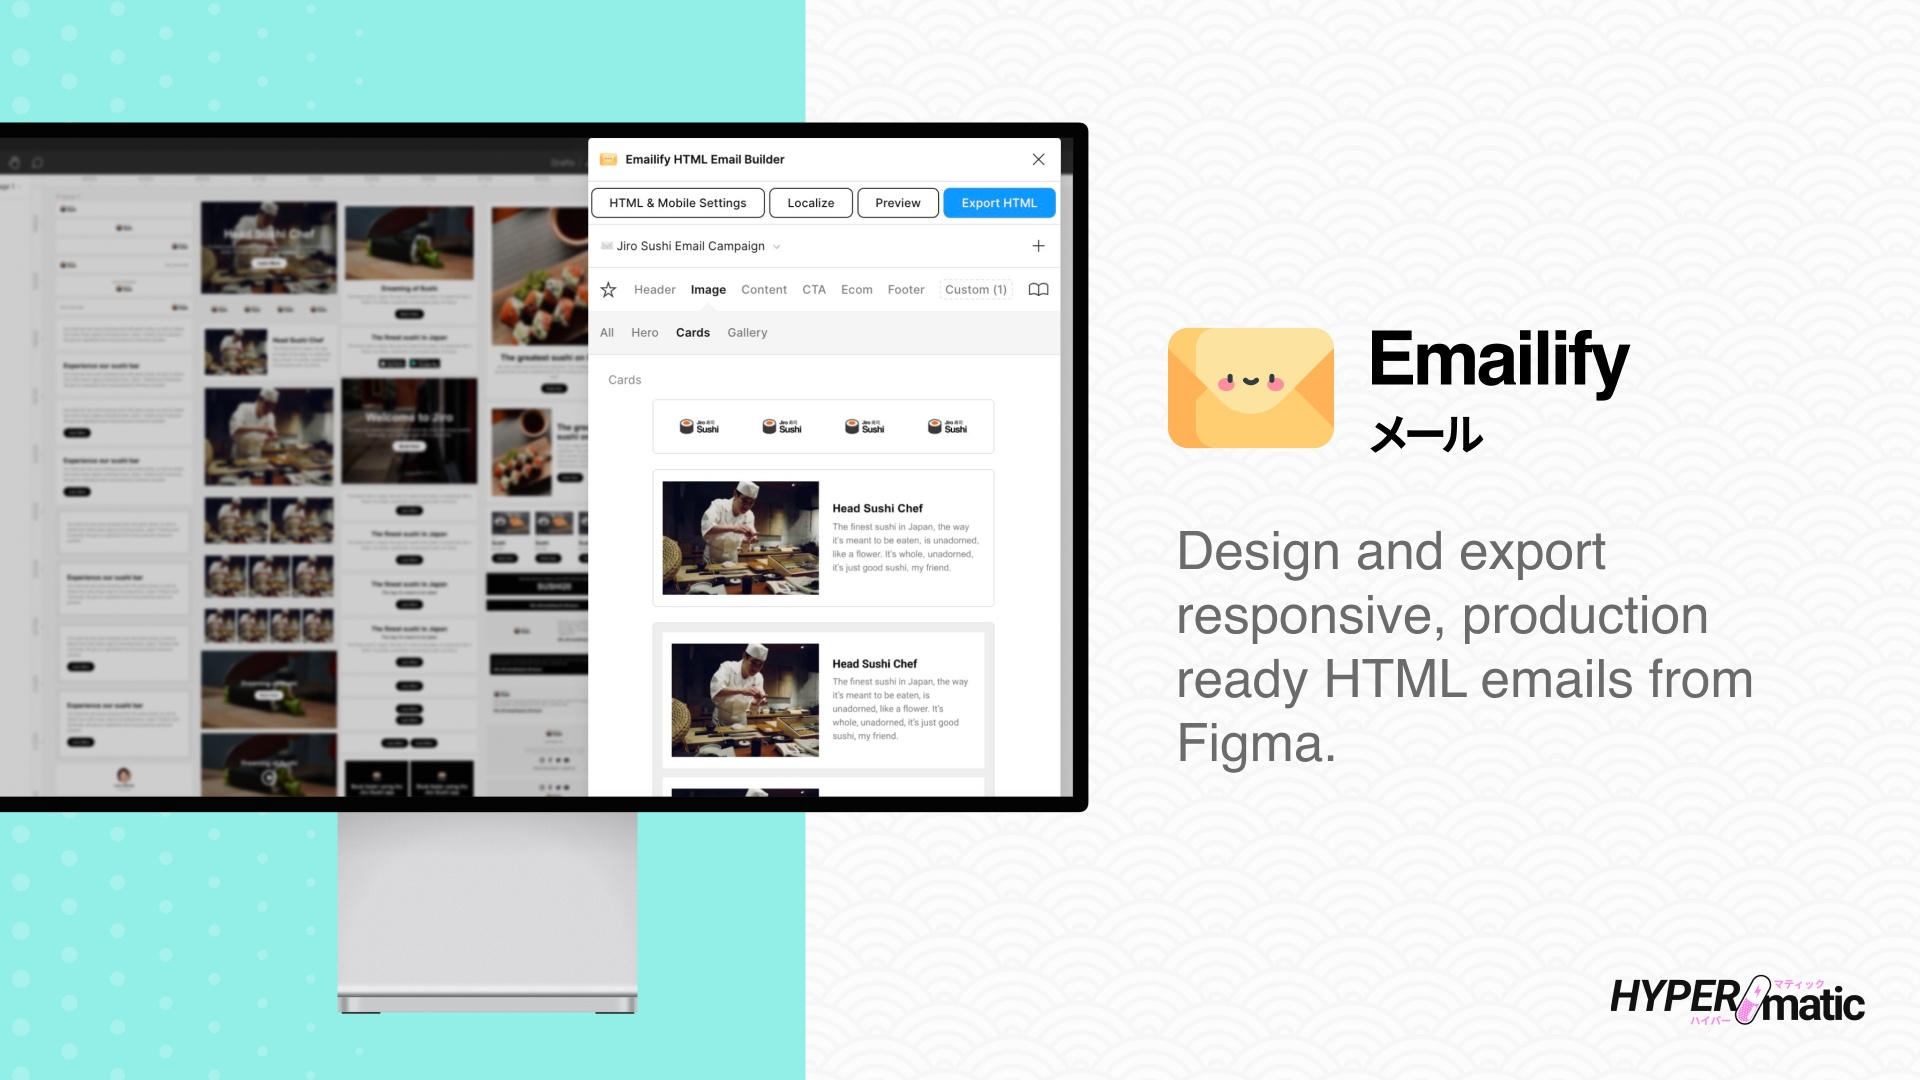
- No coding required; export responsive, production ready HTML with one-click.
- Integrations for Klaviyo, MailChimp, Campaign Monitor, SendGrid, PostMark, HubSpot, ActiveCampaign, Salesforce Marketing Cloud, Pardot, Braze, Bazaarvoice, Iterable, OneSignal, Omnisend, Ongage, Dotdigital, MailJet, Intercom, Zoho Campaigns, Customer.io, Brevo (Sendinblue), Mailgun, SendPulse, Selzy, Stripo, MailerLite, EmailOctopus, Loops.so, GetResponse, ConvertKit, Constant Contact, Drip, SugarCRM, Shopify, Aweber, Benchmark Email, Insider, Moosend, SendX, Mailercloud, Bloomreach, Amazon SES (AWS), Sendwithus, Emarsys, Contlo, Spotler, Mailmodo, Blueshift, Yotpo, Bento, Cheetah Digital by Marigold, Zeta, Netlify, PDF, or Email on Acid.
- Automatically generates a preview page with all of your HTML emails.
- Optionally export developer friendly MJML source code.
- Export HTML emails to PDFs for sending to clients for approvals.
- Optionally self-host images on your own Cloud Storage bucket (eg. AWS S3, Backblaze B2, Cloudflare R2, etc).
- Download the exported .zip file to your computer from Figma.