 Video Tutorial: Uploading your emails to Marketo
Uploading your Marketo templates from Figma via the API integration
To upload your HTML templates from Emailify to your Marketo account, you'll need to paste in your Client ID, Client Secret and REST API Endpoint URL for your Marketo account by following the steps below:
Step 1: Get your Marketo REST API Endpoint URL
This first step will show you how to get your REST API Endpoint URL in Marketo.
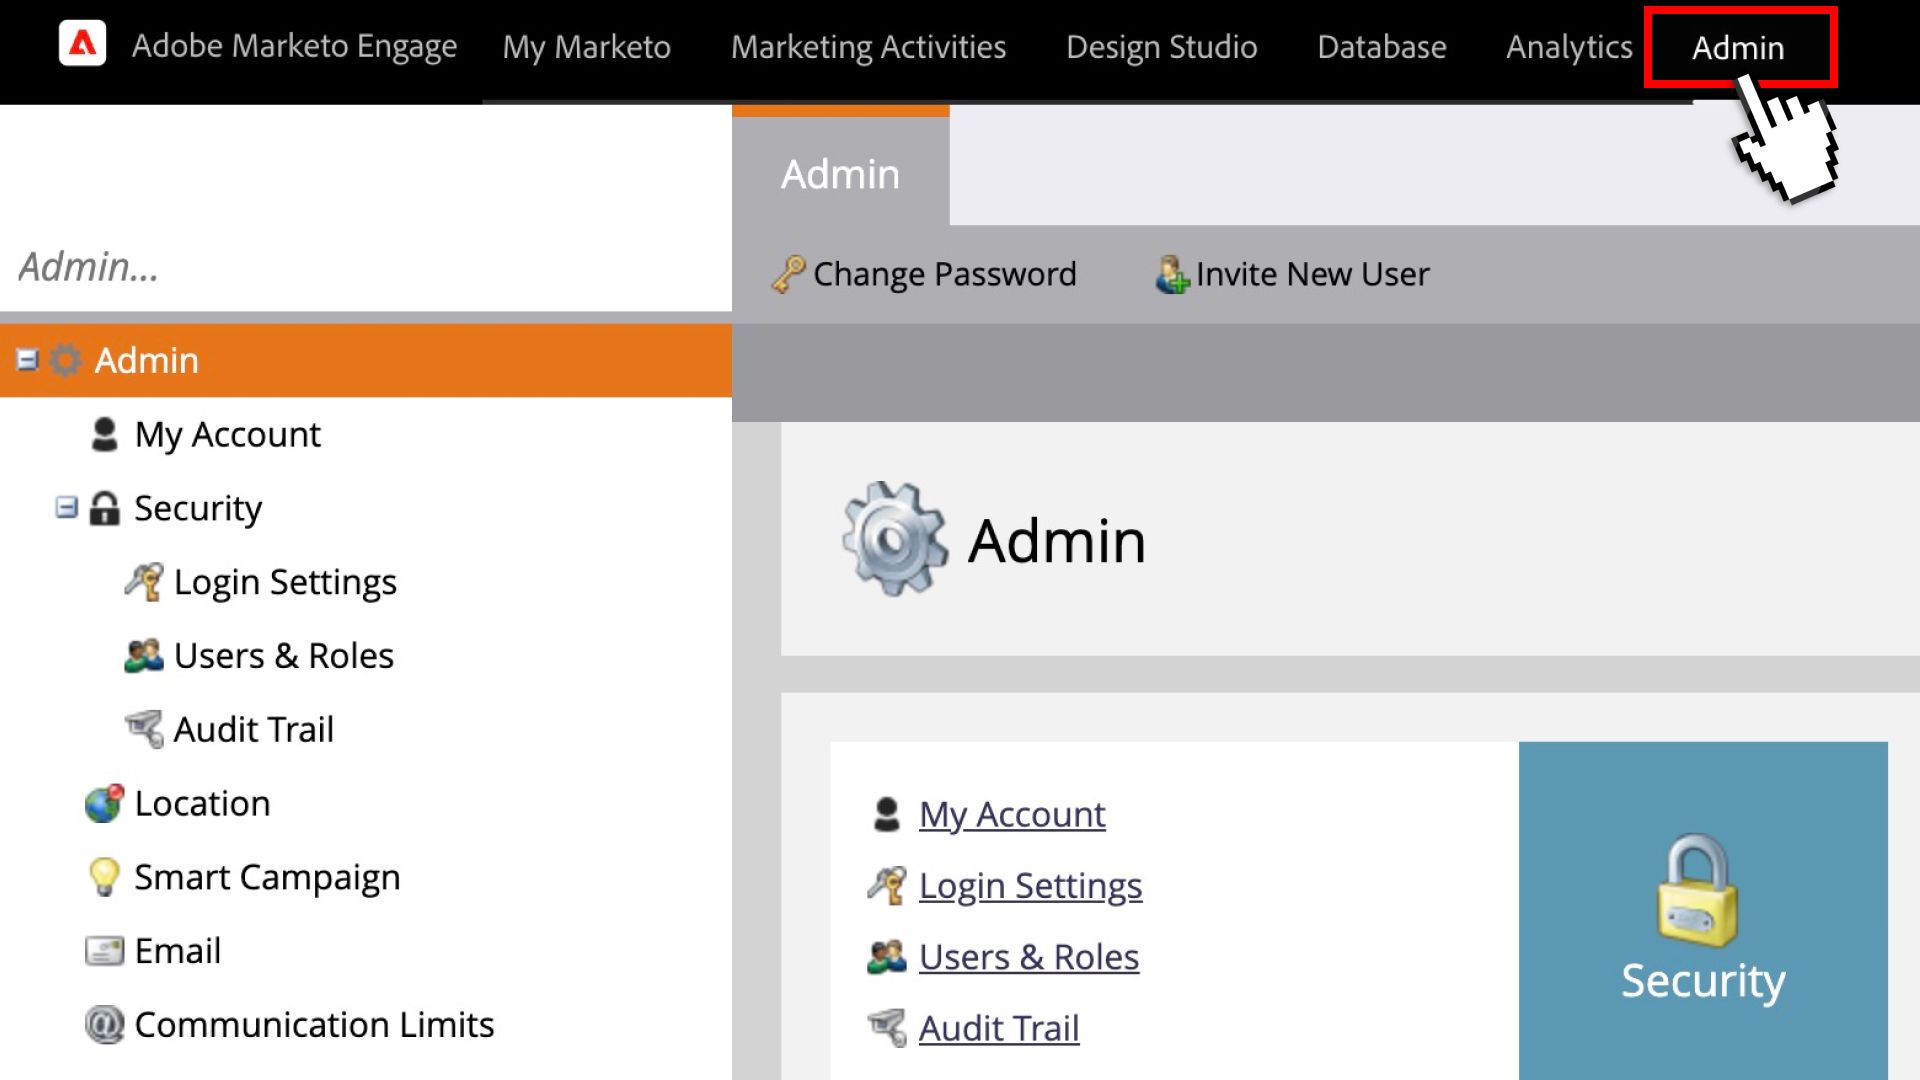
- Login to Marketo and navigate to the 'Admin' page
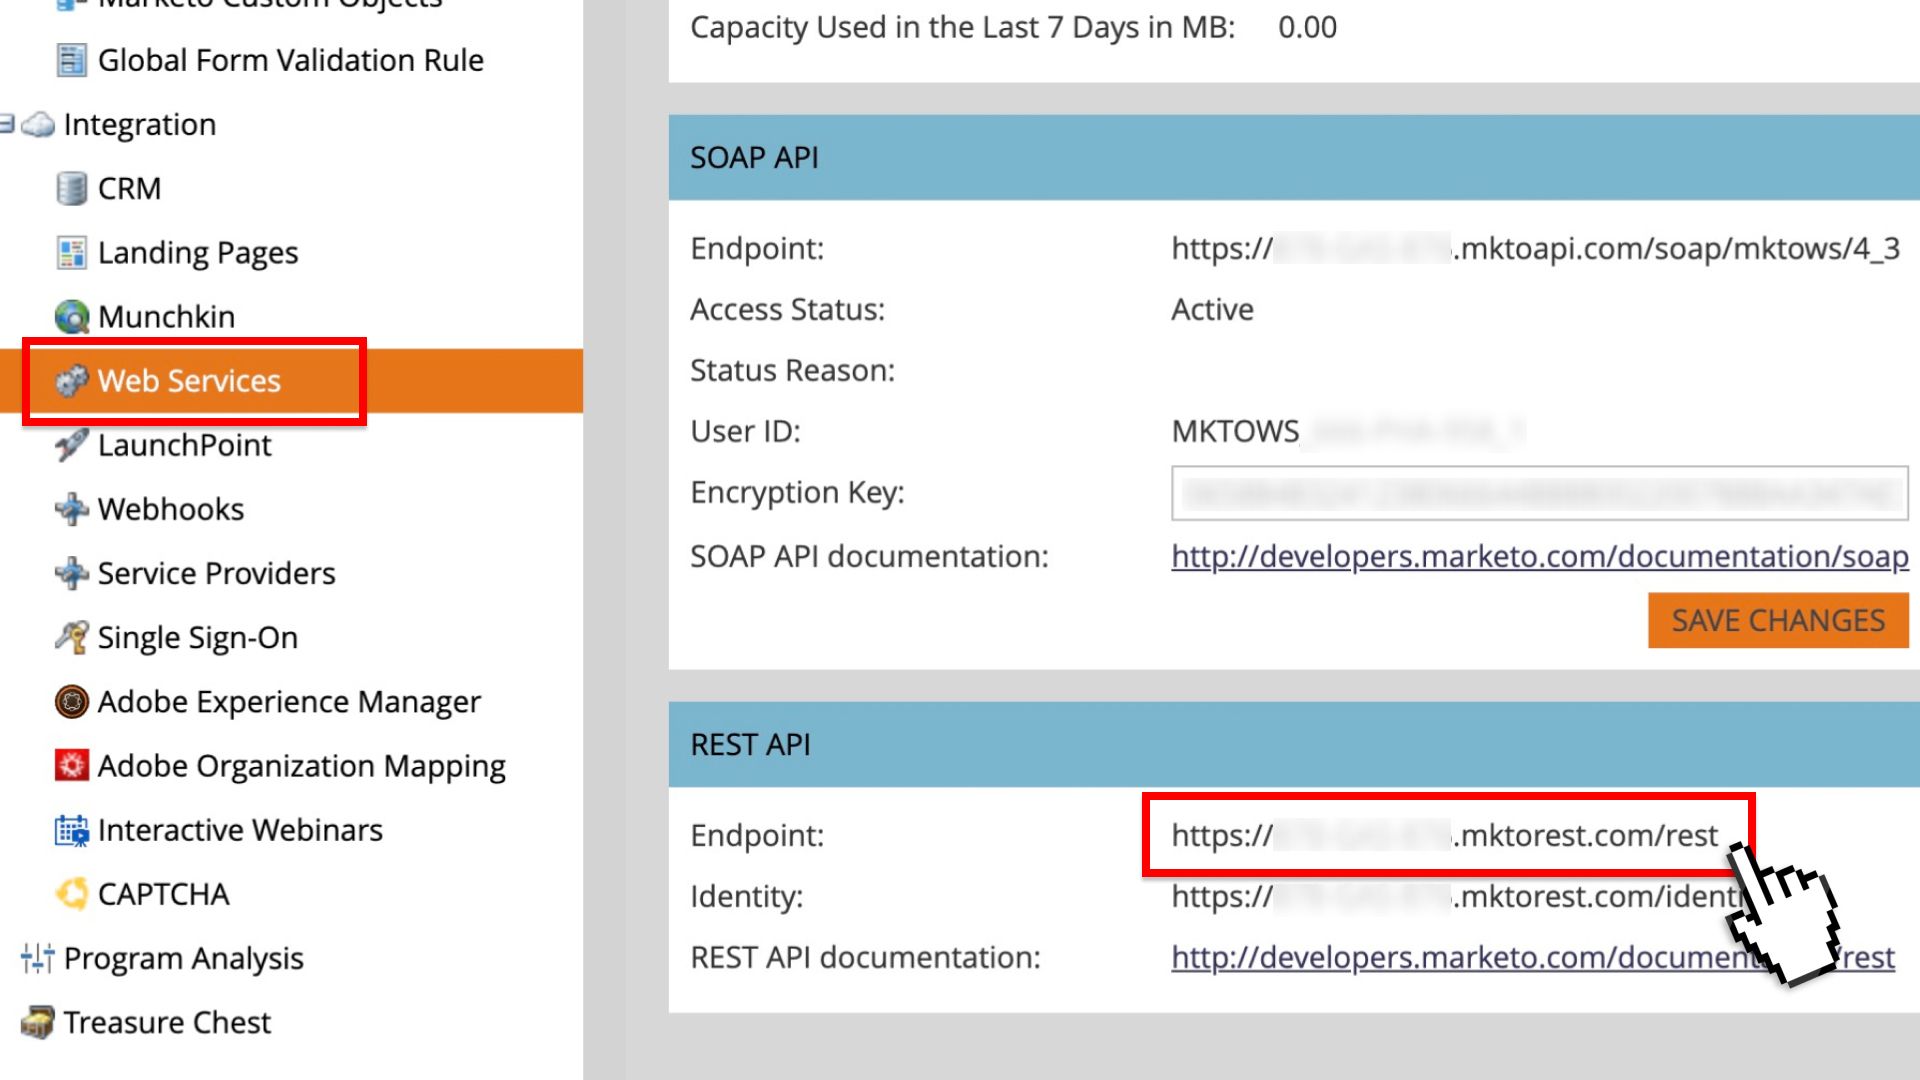
- Click the Web Services nav item and copy the REST API Endpoint URL to your clipboard to use later in Step 3 (below)
Step 2: Get your Marketo Client ID and Client Secret details
This second step will show you how to get your Client ID and Client Secret details in Marketo.
- Login to Marketo and navigate to the Admin page

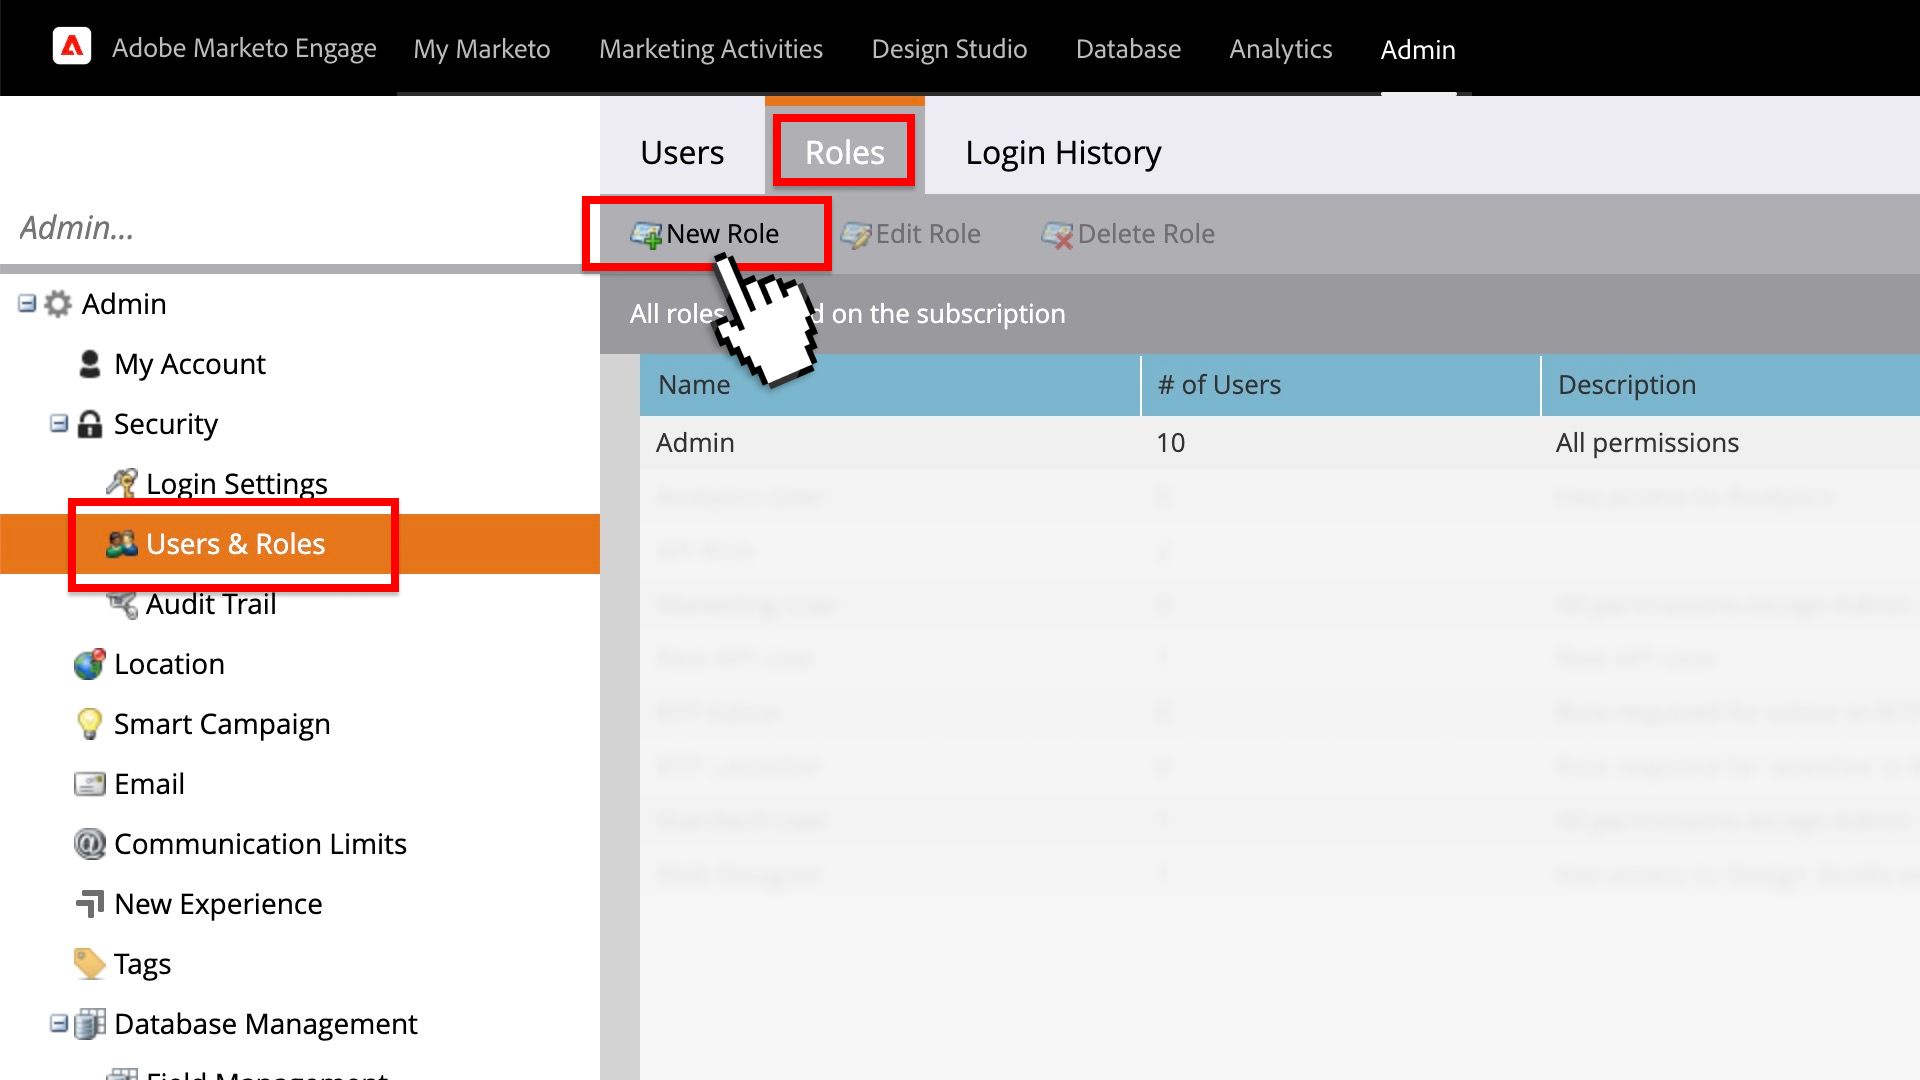
- Go to the Users & Roles nav item, click the Roles tab at the top, then click New Role
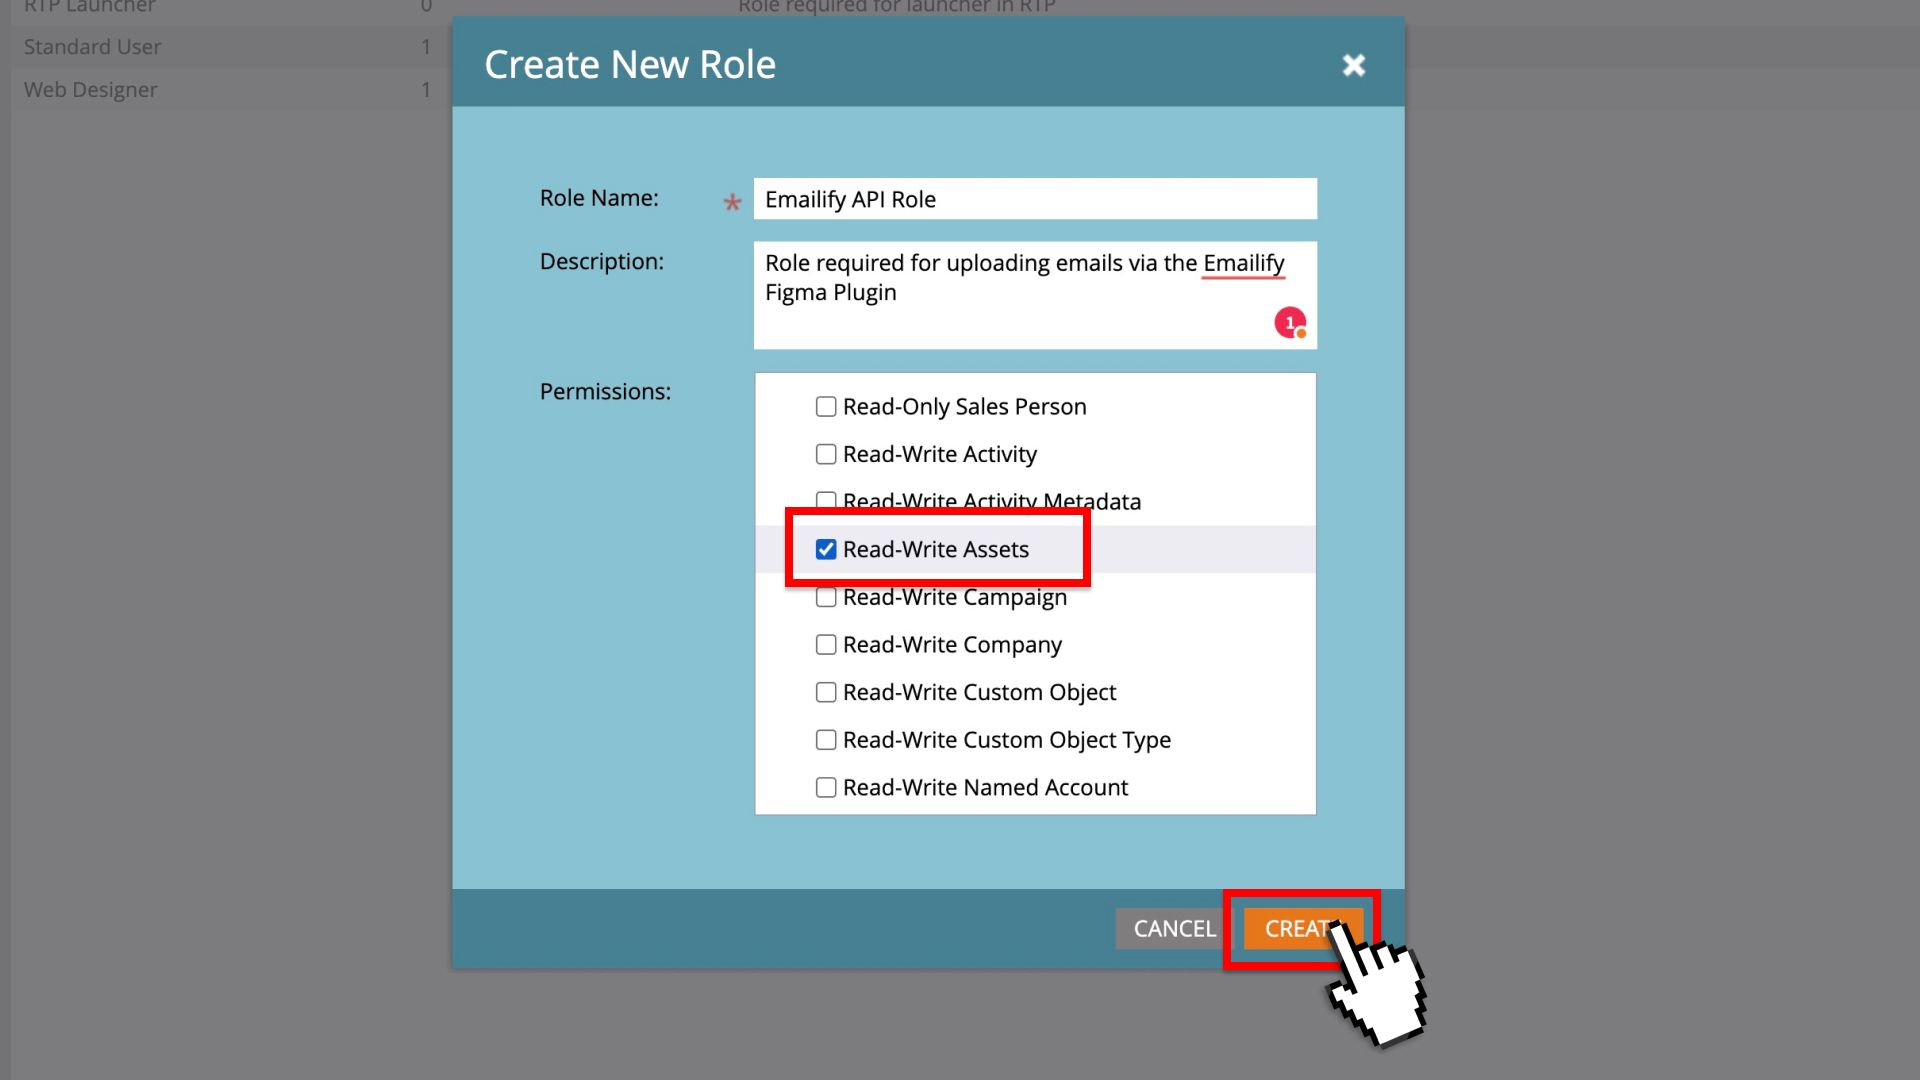
- Add a new role with Read/Write Assets permissions enabled (under the Access API dropdown item) and click Create
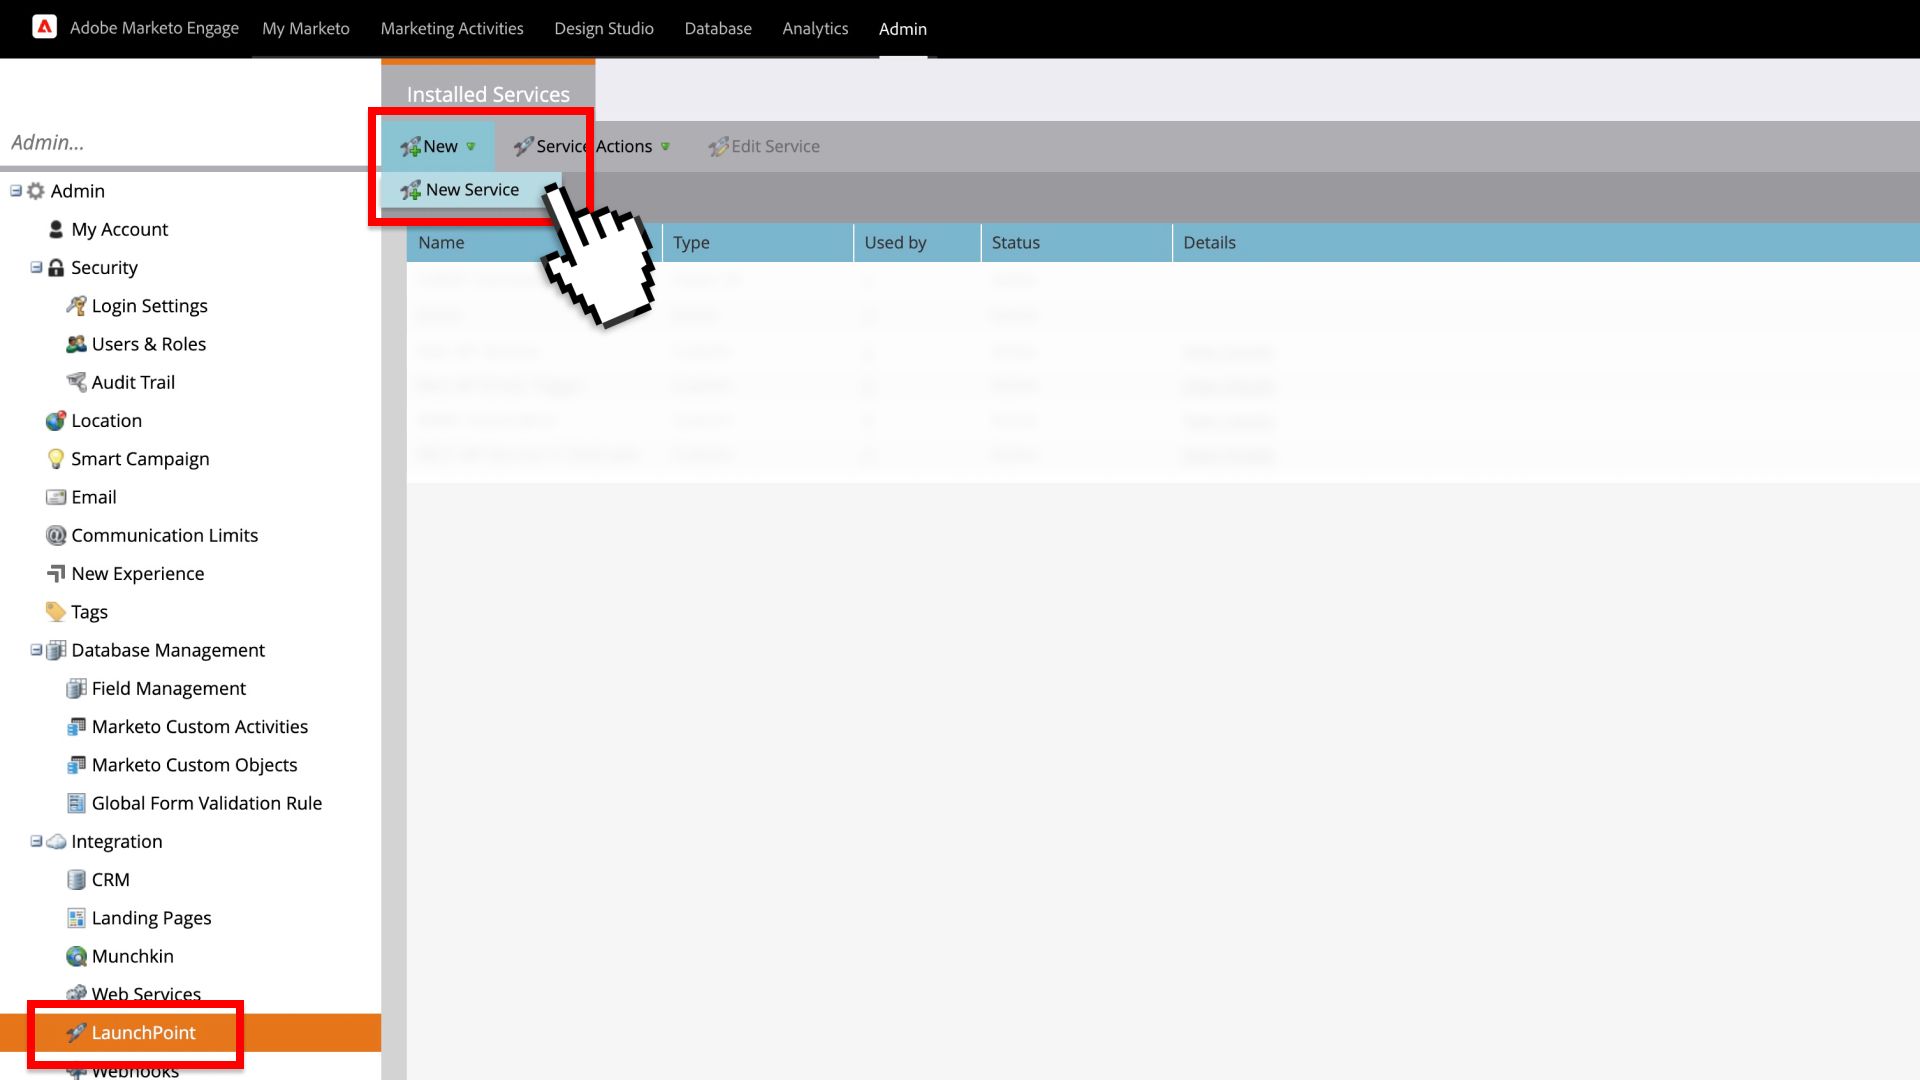
- Go to the LaunchPoint nav item, and under Installed Services, hover over New, then click New Service
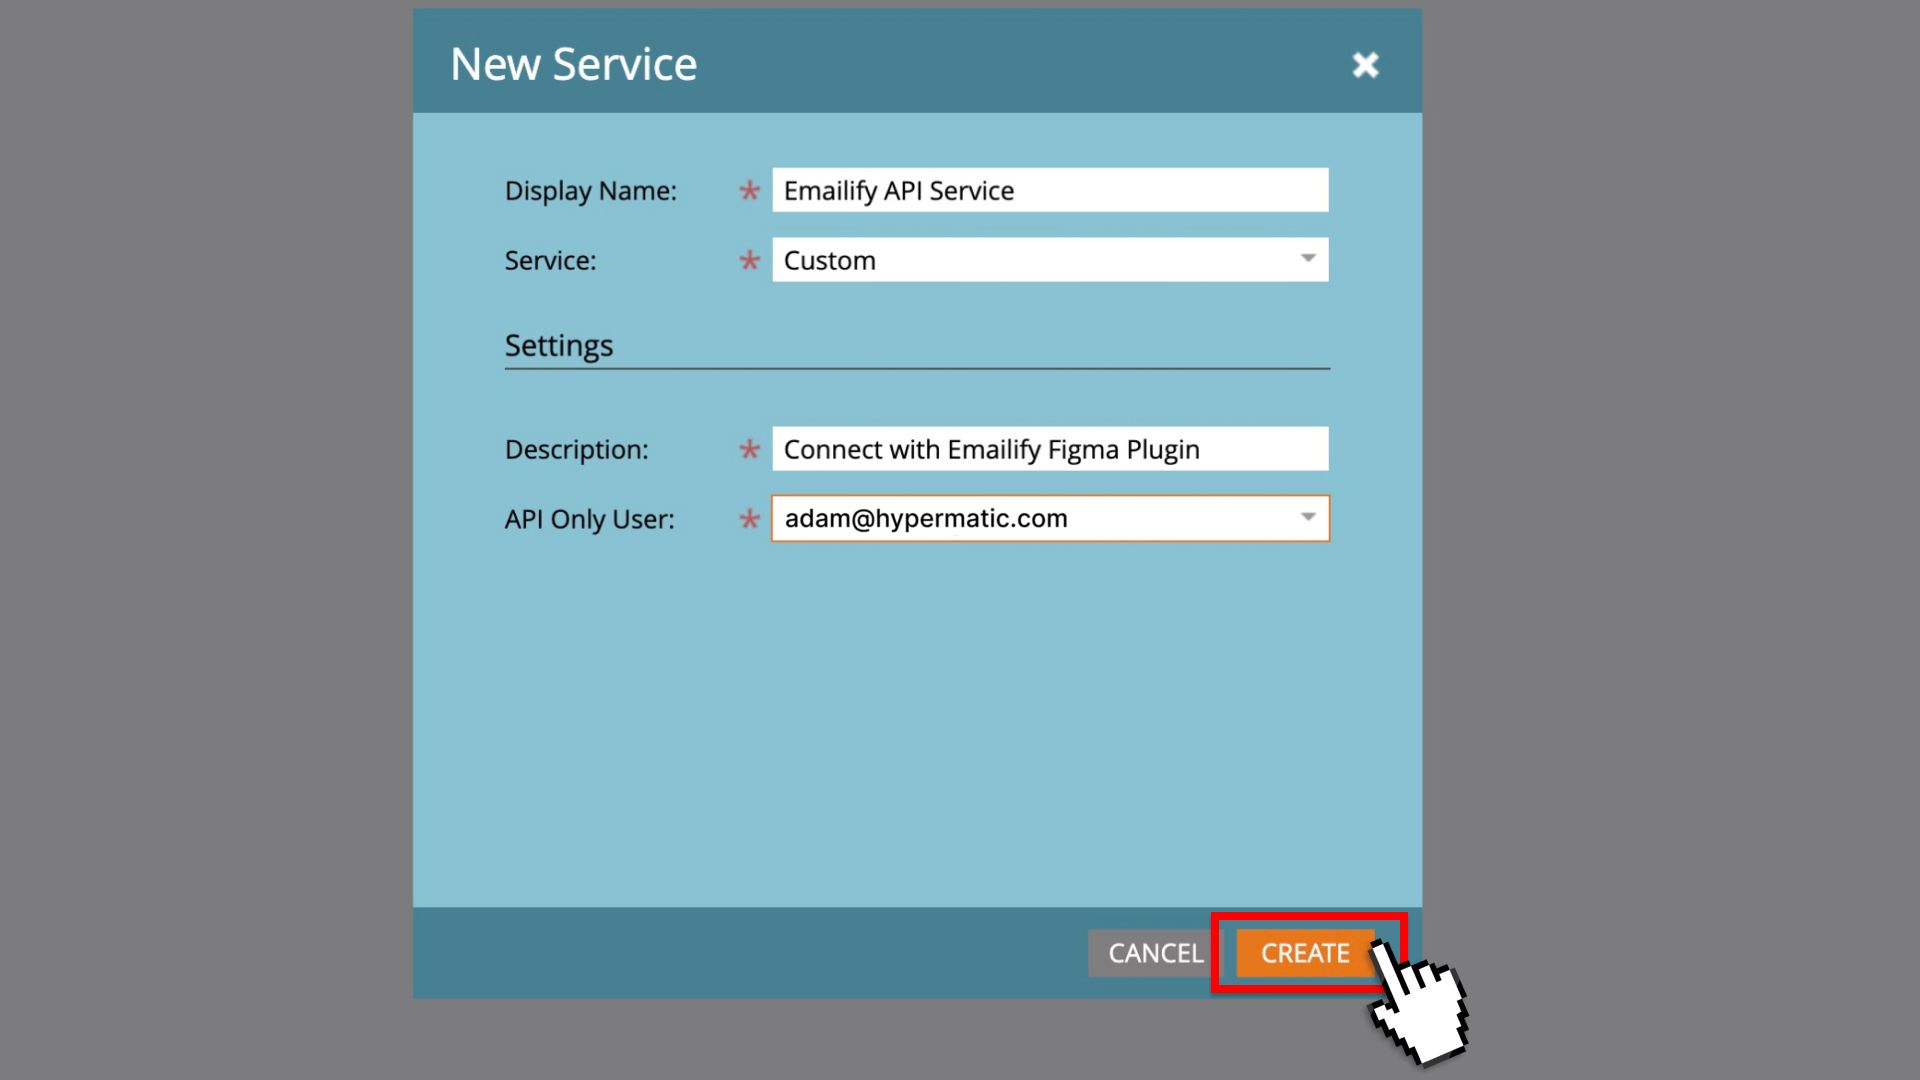
- Populate the description, select Custom from the Service dropdown list, then select an API Only User who already has the API permissions to upload the templates, then click Create.
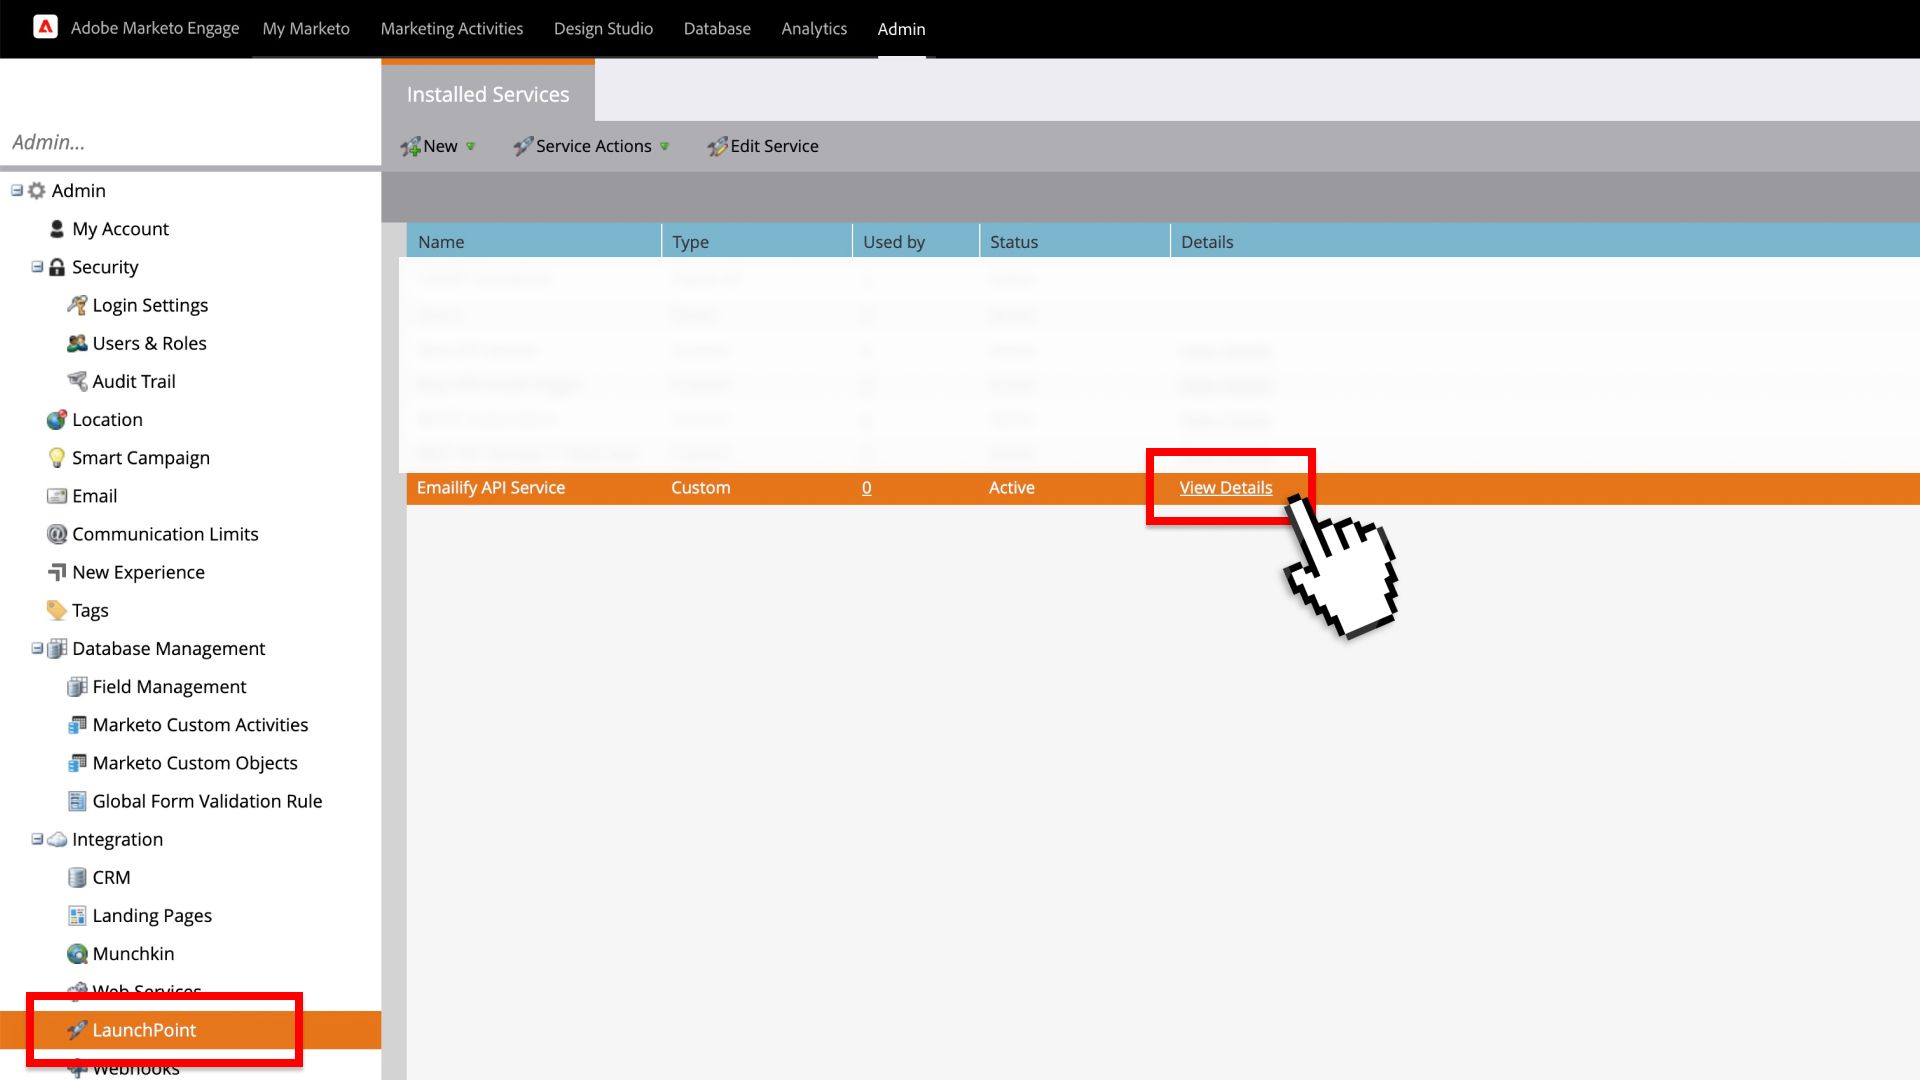
- Under the Installed Services, click the View Details link for your service
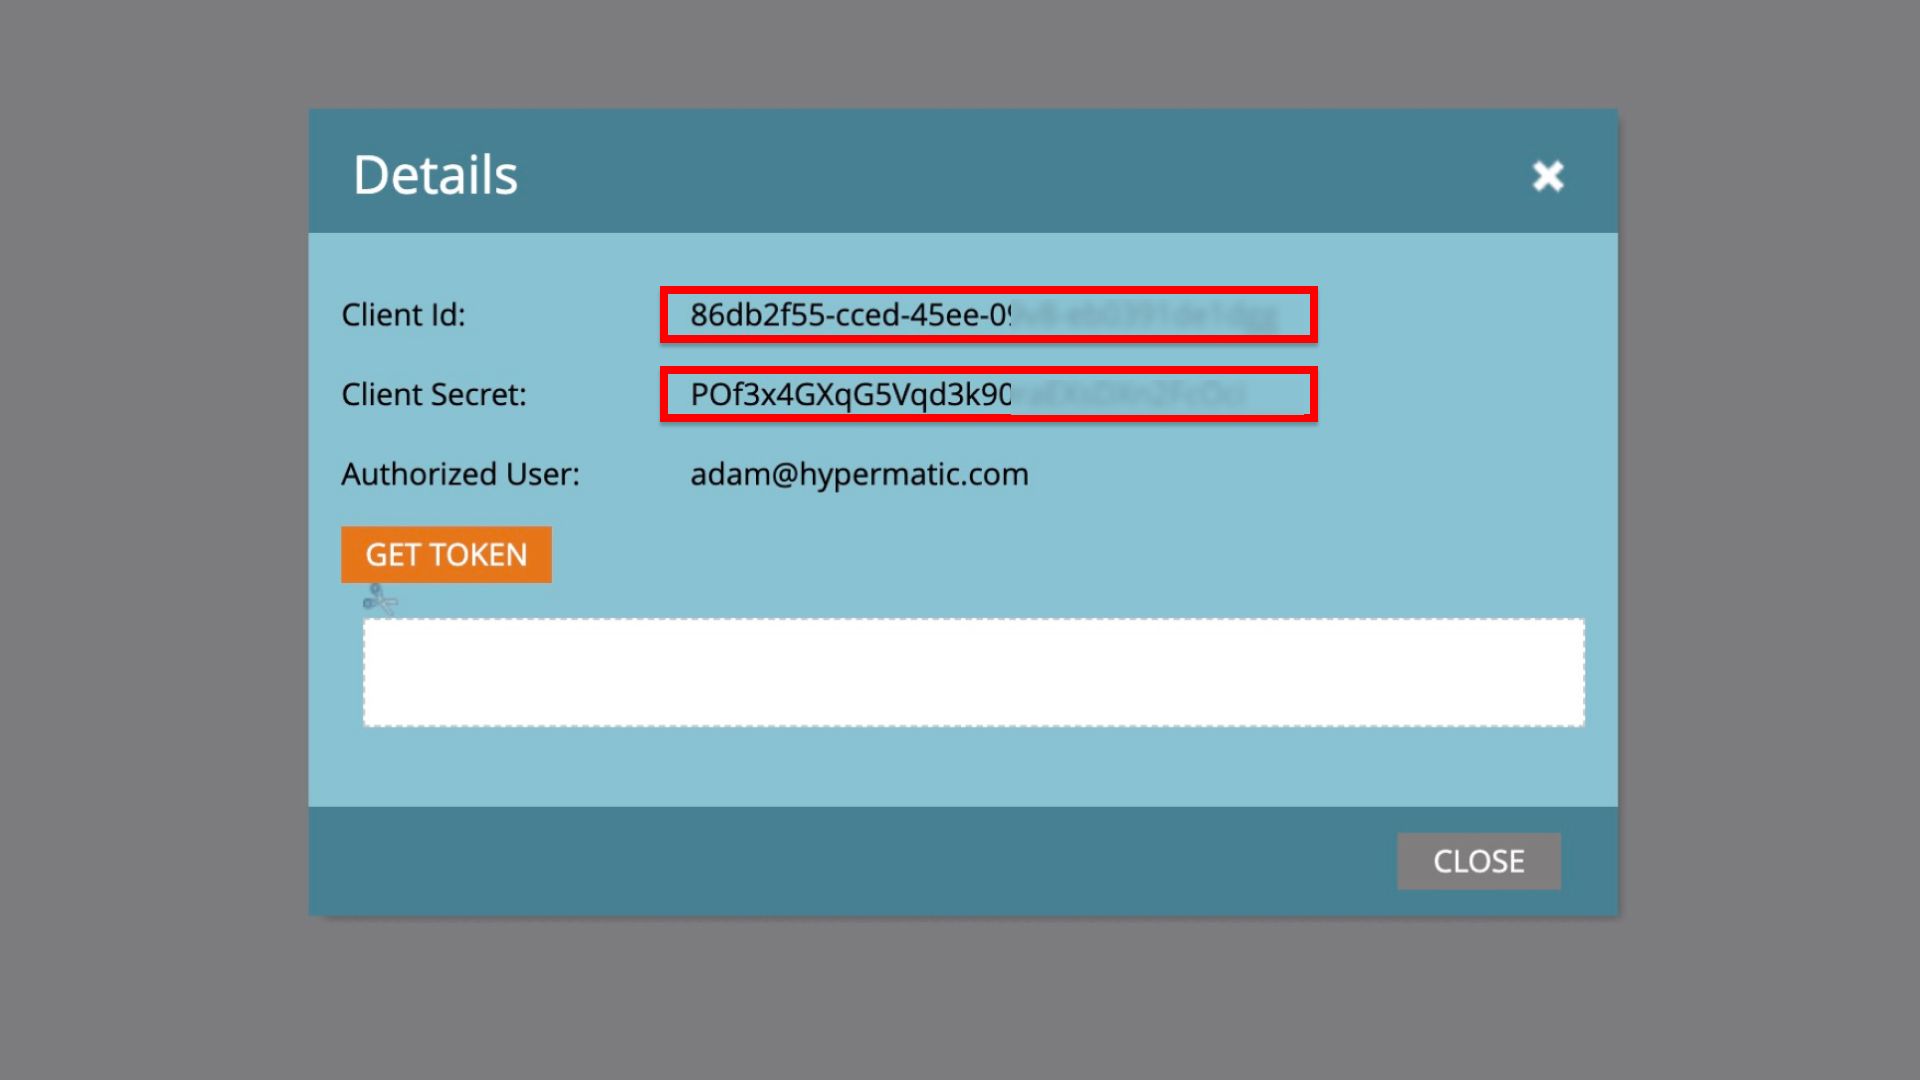
- Copy the Client Id and Client Secret details to your clipboard to use later in Step 3 (below)
Step 3: Uploading your template to Marketo from the Emailify plugin
This third (and final) step will show you how to paste the REST API Endpoint URL, Client ID and Client Secret details you copied from Marketo in the first two steps into the Emailify Figma Plugin, to automatically upload your HTML emails into your Marketo Email Templates.
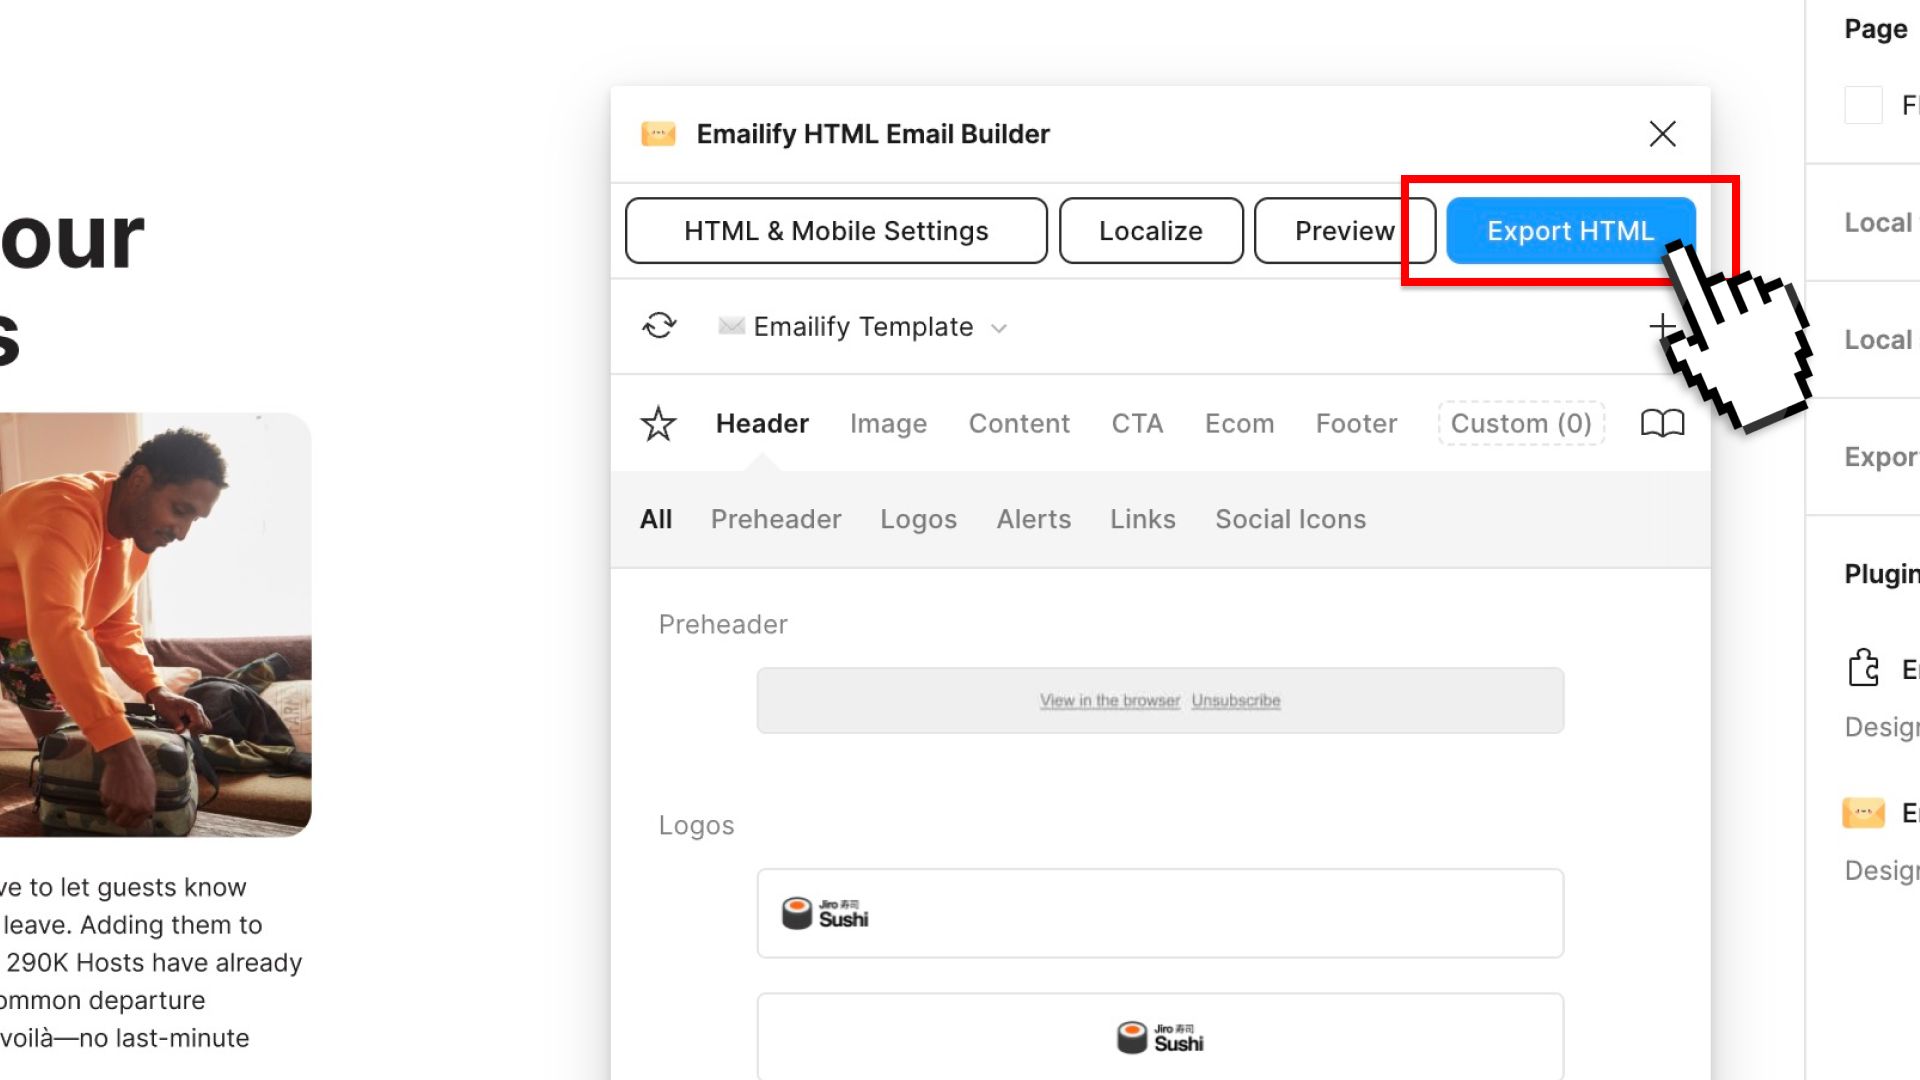
- Run the Emailify plugin in Figma and click the Export HTML button
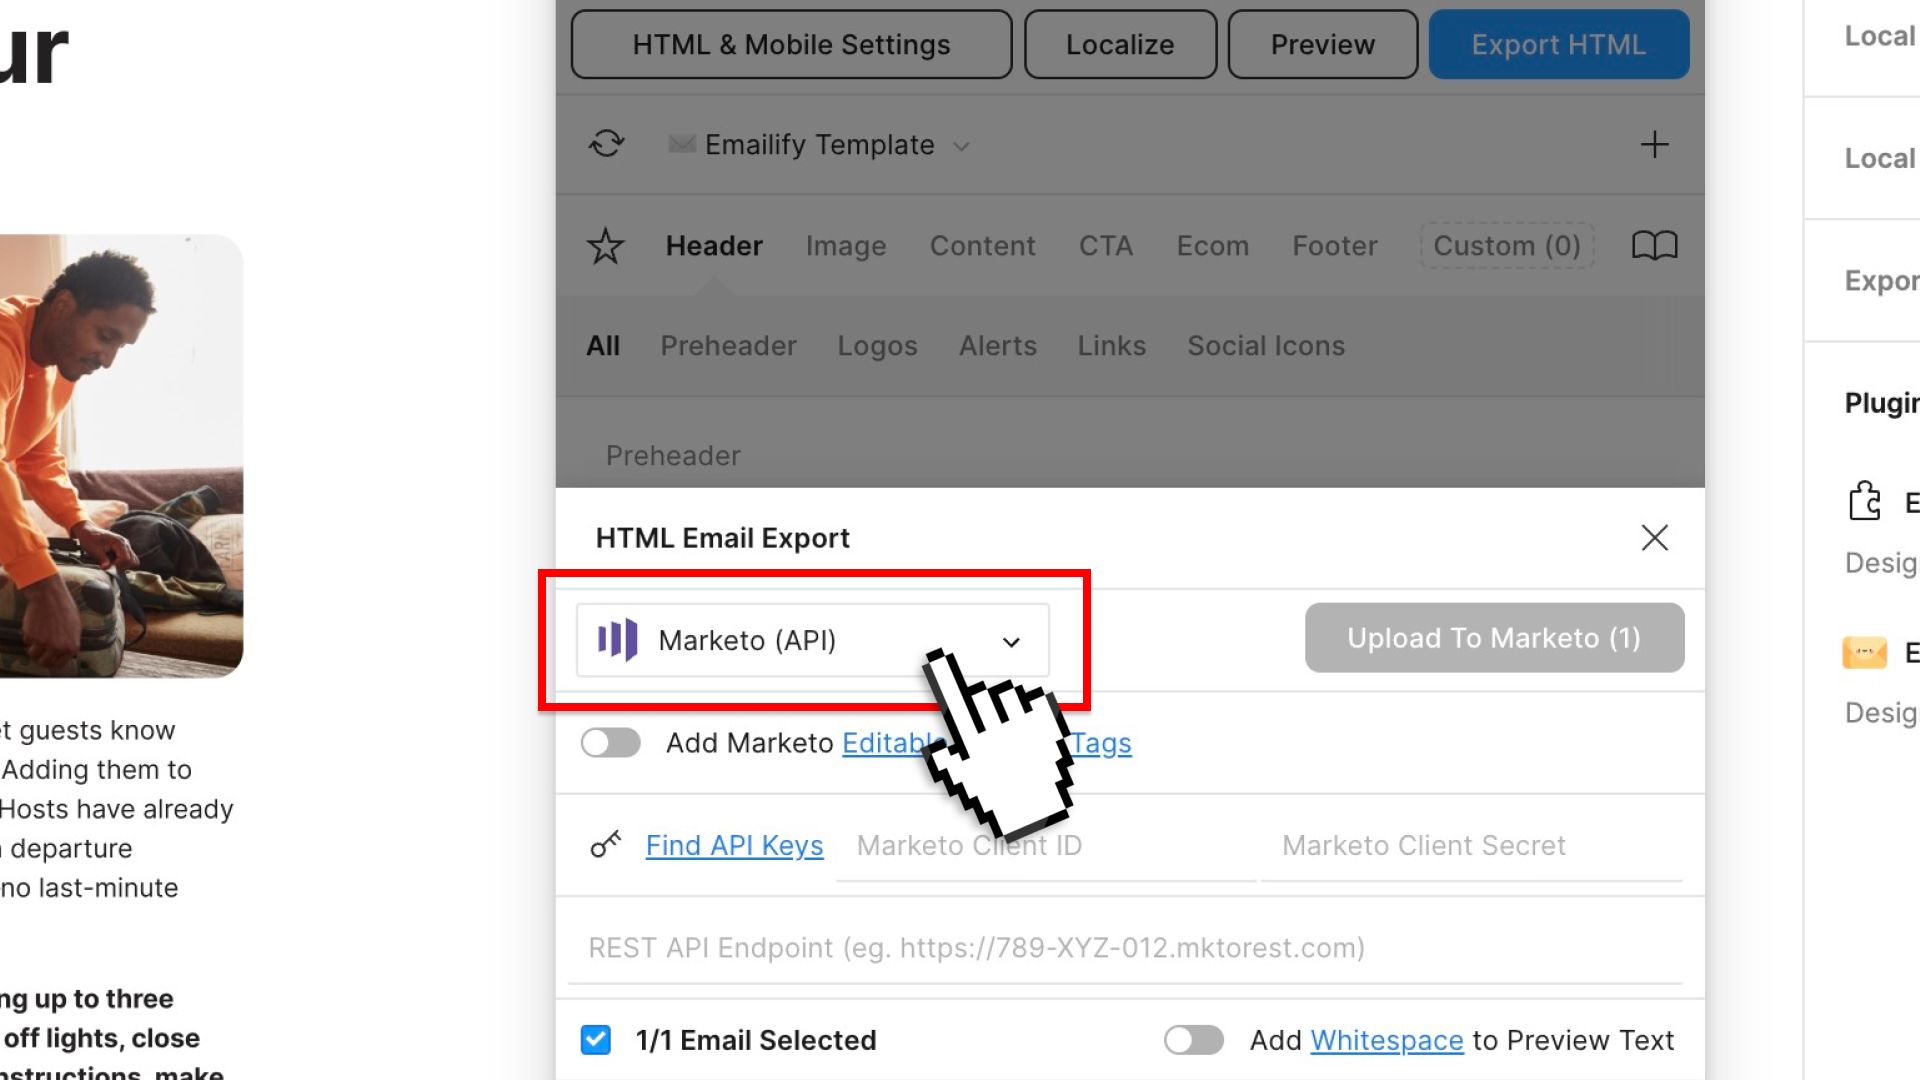
- Select the Marketo (API) option from the export platform options list
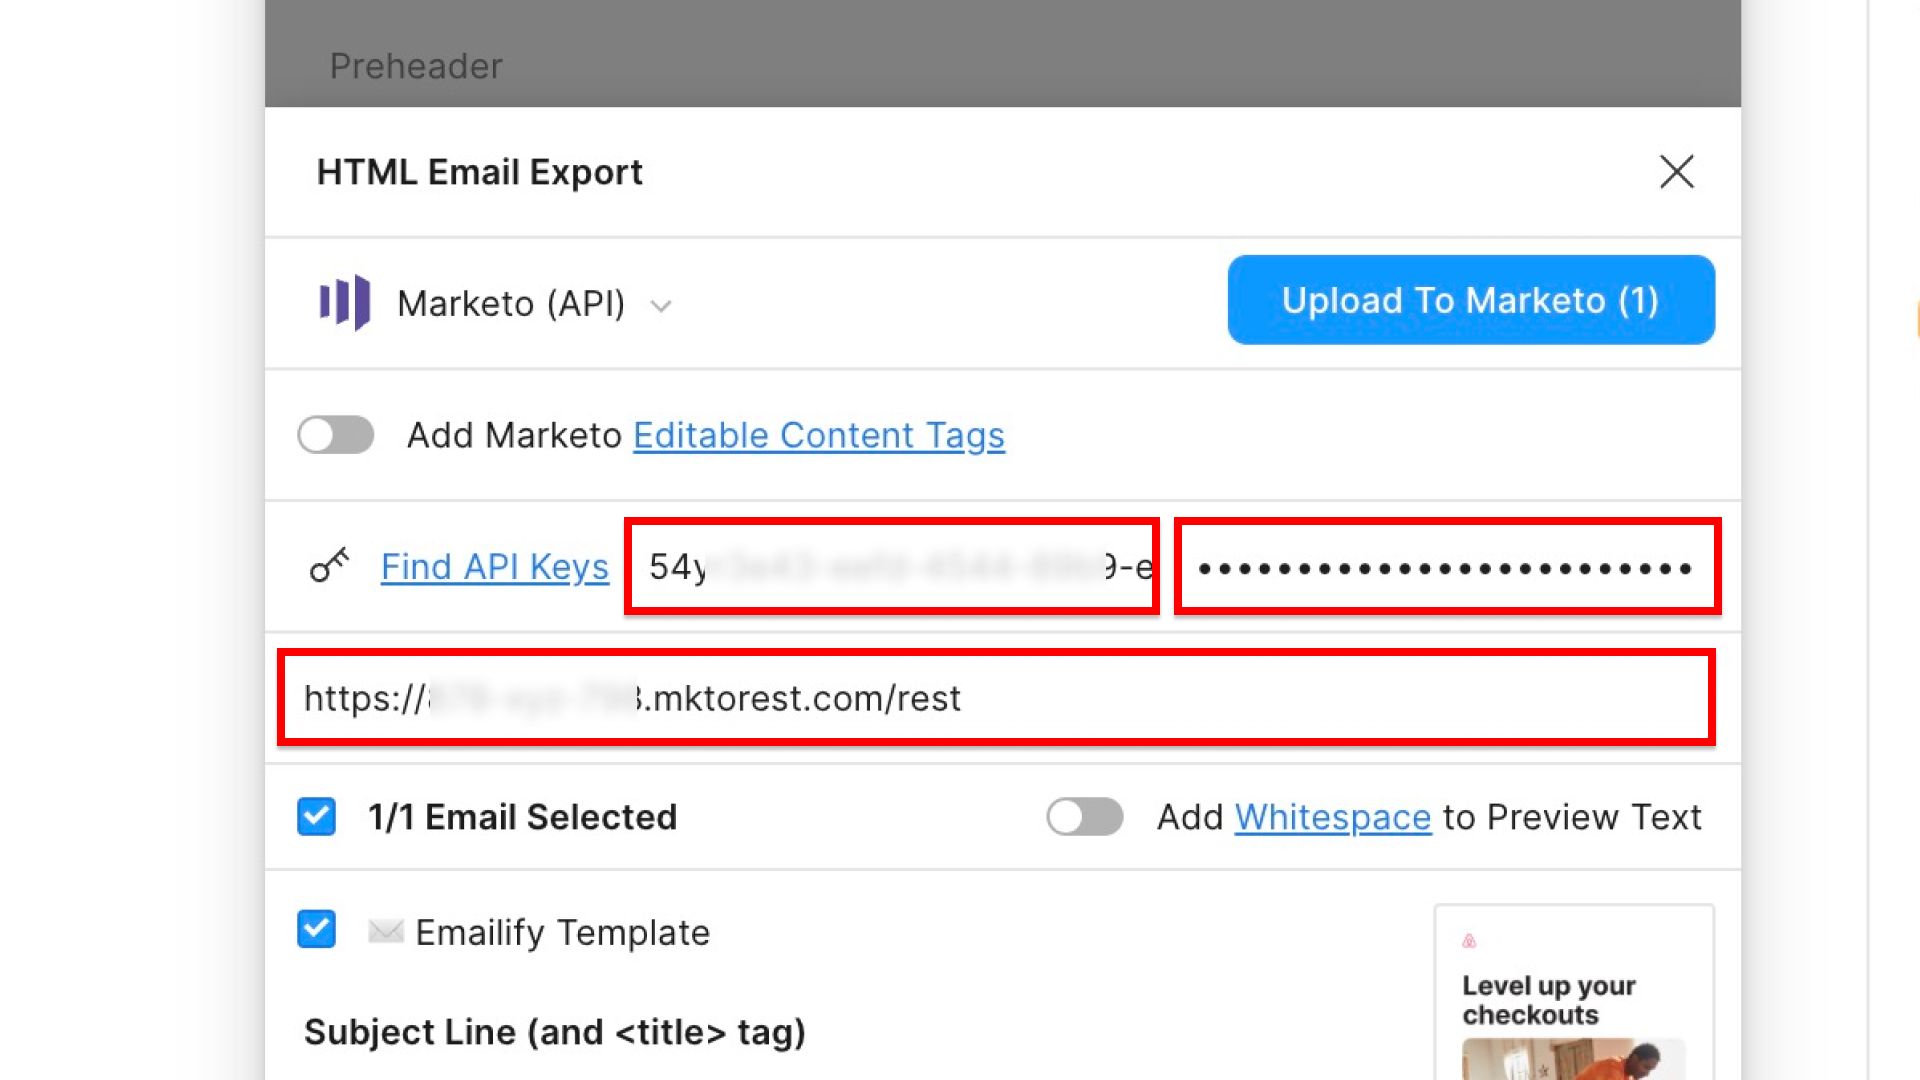
- Paste in your Marketo REST API Endpoint URL, Client ID and Client Secret that you copied in Step 1 and Step 2 (above) to authenticate the plugin with Marketo
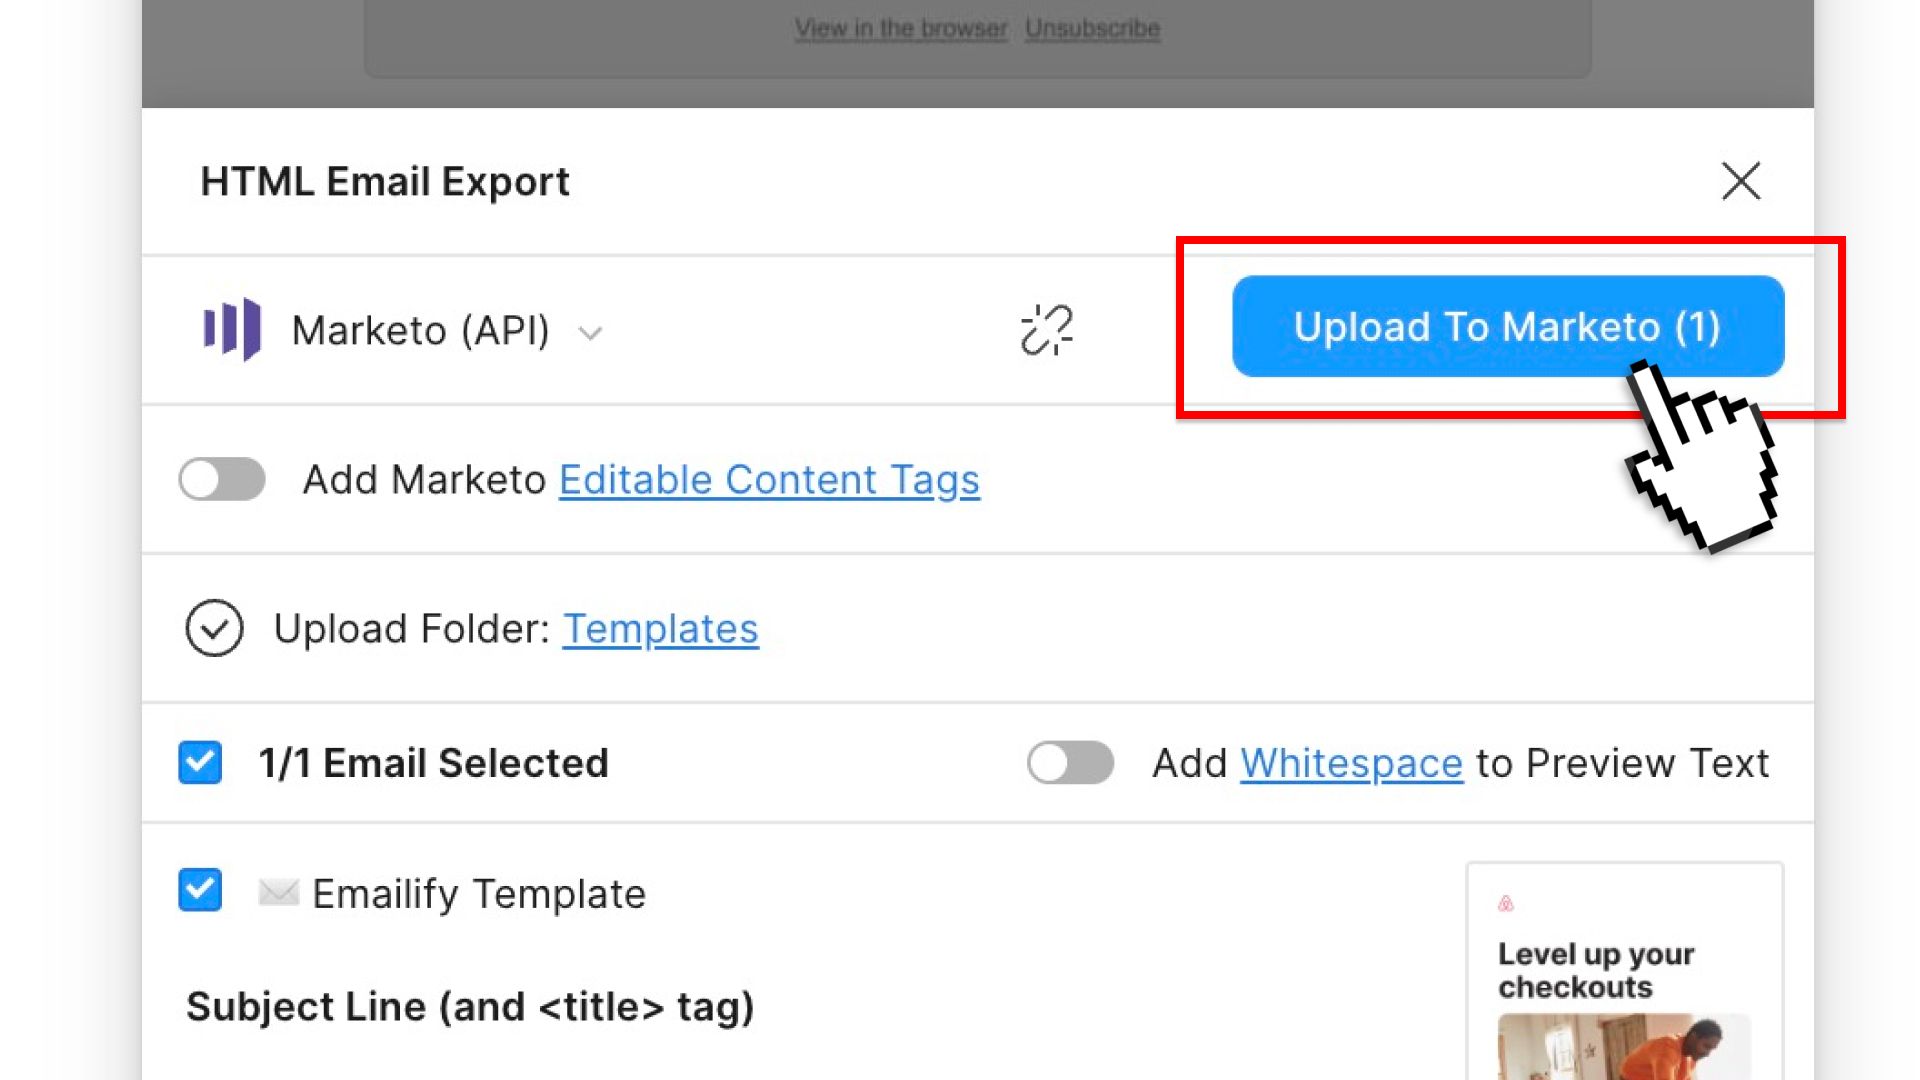
- Click on the Upload To Marketo button to upload your template(s)
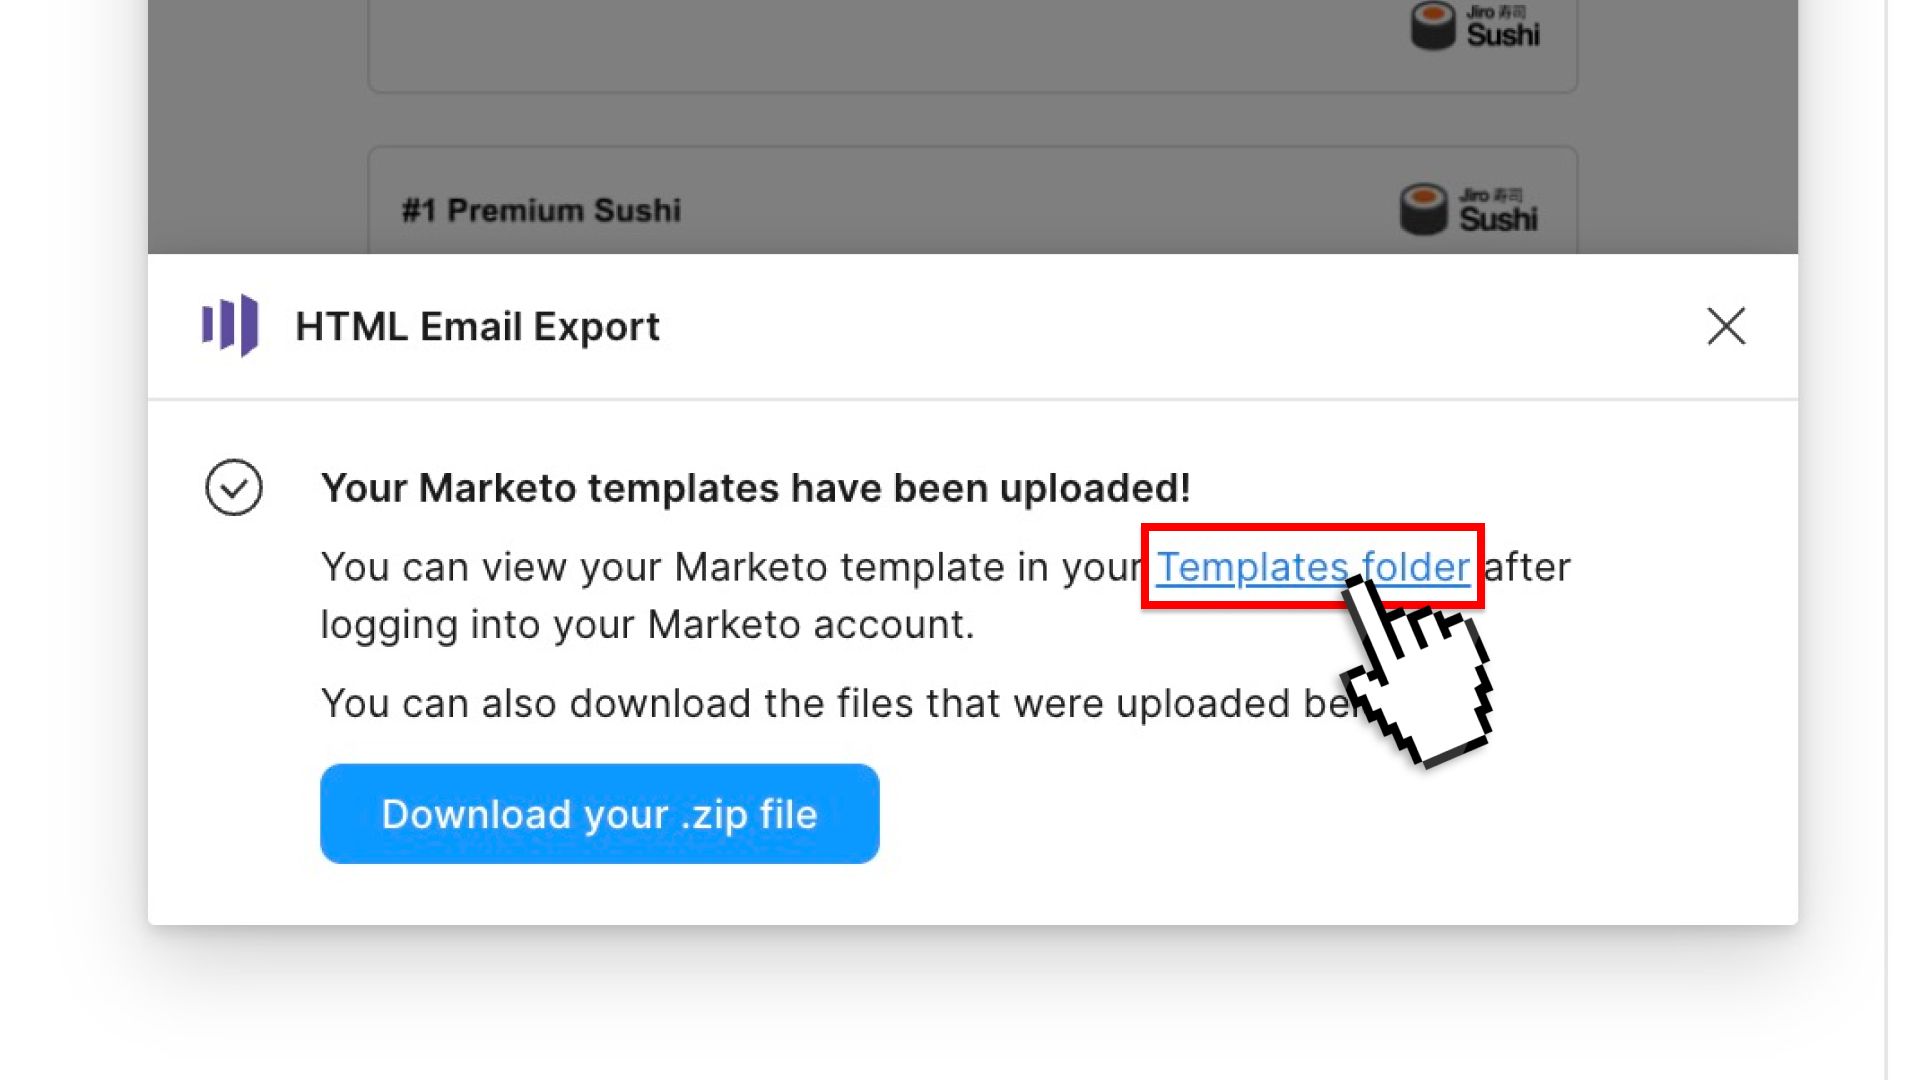
- Click the Template folder link in the Emailify confirmation to view your new template(s) in Marketo
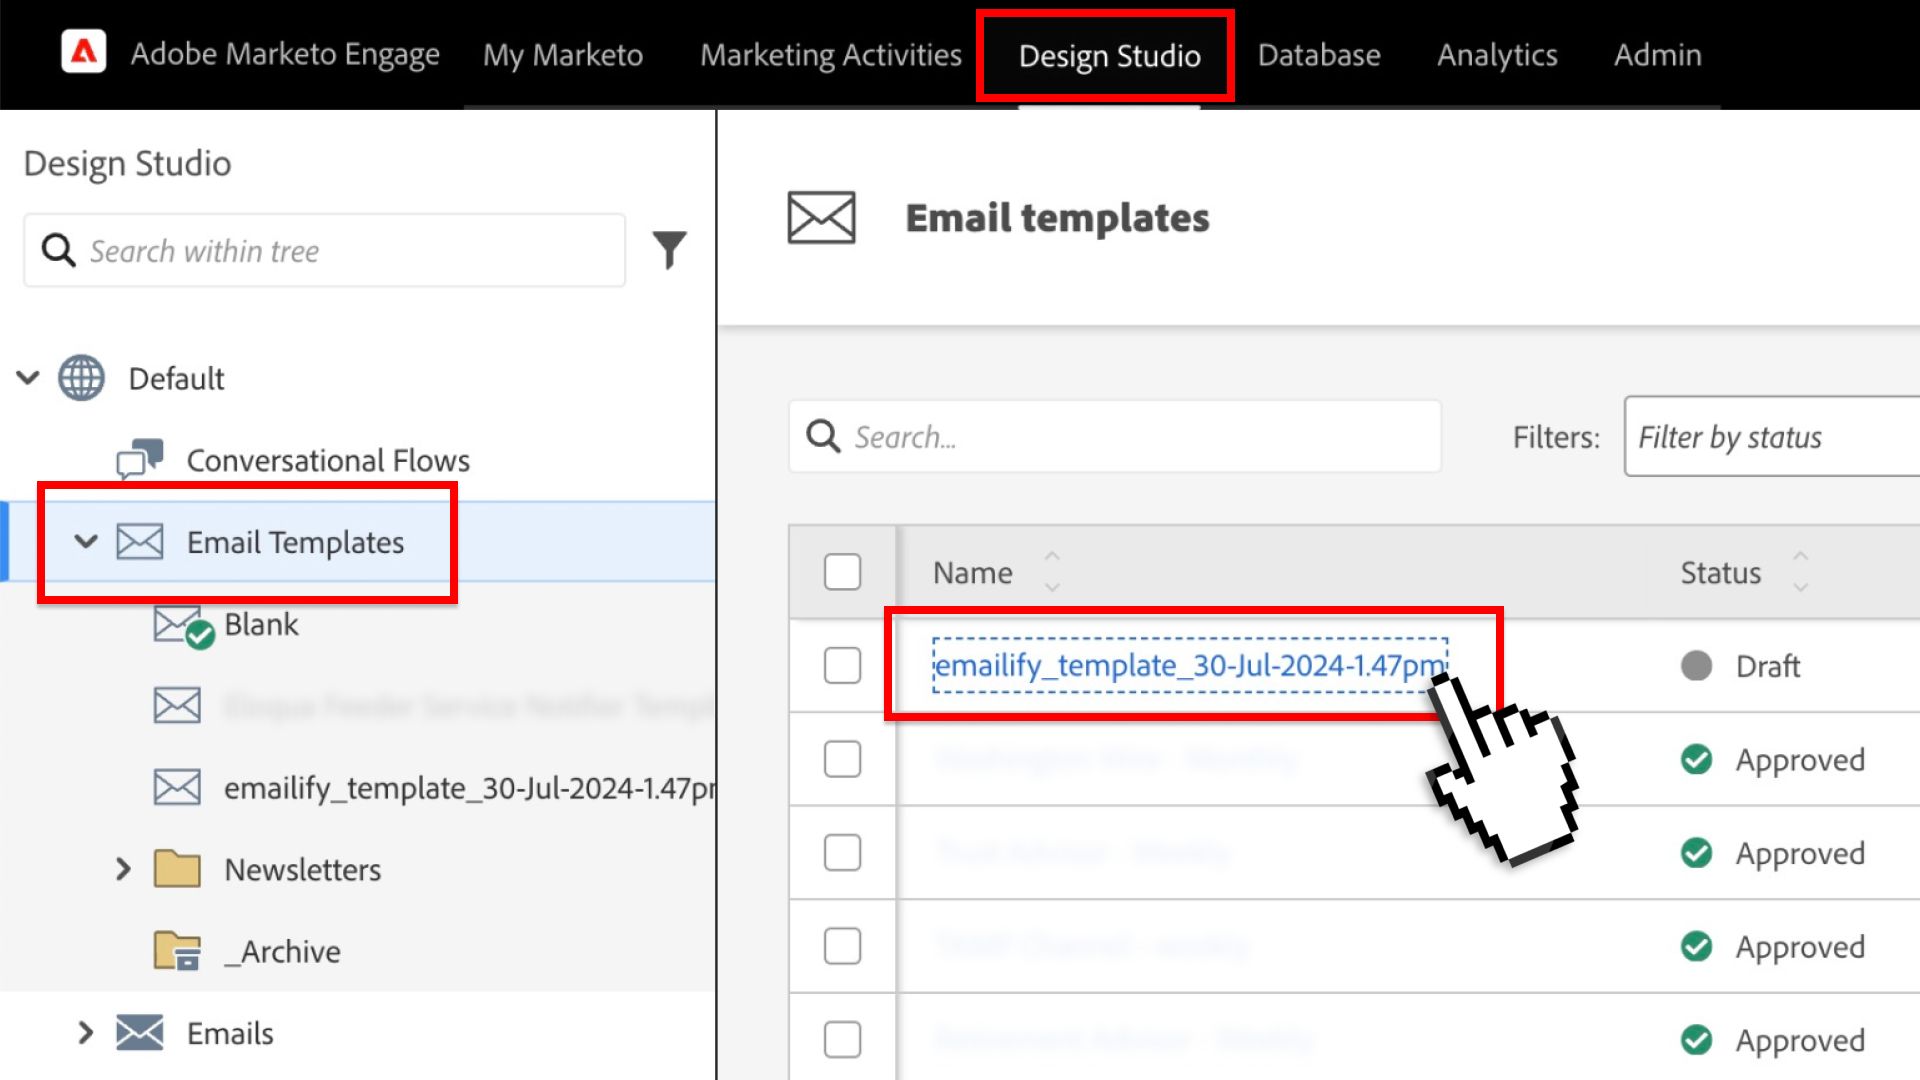
- View your new email template(s) in your Marketo Design Studio and use it however you like
Uploading your Marketo templates from Figma by copy/pasting the HTML
If you don't want to use the built-in API integration above, you can also manually upload/create new email templates in your Marketo account by copy/pasting the exported HTML code from Emailify.
To do this, click on the Export HTML button in the Emailify plugin header, then select the Marketo (Zip) option from the export platform options list and click the Export for Marketo button.
After the export has finished, click the Download your .zip file button, save it to your computer, then unzip the contents to find your email folder name inside it; which will contain an index.html file with your exported email template HTML code.
If you login into your Marketo account, then click on the Design Studio menu item, you can create a new email template in a folder of your choice, and then copy/paste the exported HTML code from the index.html file into the Marketo code editor to finish creating your new Marketo email template.