Email signatures have a size limit of 10,000 characters in the HTML. The plugin will warn you after exporting your email signature if its over the size limit. To avoid this you can use some of the Signature starter components under the Footer tab in the Emailify plugin.
Unfortunately, any responsive mobile overrides won't be rendered for any "HTML Email Signature" exports, as any CSS style tags and @media queries are stripped out by email clients (therefore, it's also not included in the code export), so it's worth trying to strike a balance in the original design that looks nice across both desktop and mobile widths.
 Video Tutorial: Design and export HTML Email Signatures from Figma
This video walks through how to design and export production-ready, responsive HTML email from Figma using the Emailify plugin.
Export your HTML signature from Emailify
In the Emailify plugin, click on the Export HTML button to open the export panel, select the HTML Email Signature option from the dropdown list, then click the Export to HTML Signature button to start exporting the emails you've selected from Figma to HTML.
After Emailify has finished processing your email(s), you'll be shown a confirmation message; you can download your .zip file to your computer by clicking the Download your .zip file button, then you can unzip the .zip to see your exported files.
Copy your HTML email signature to the clipboard
After you've exported your HTML email signature from Emailify and unzipped the .zip file, you can open the preview-and-install.html file in your Google Chrome web browser (as other browsers like Safari may have issues) and then click the Copy HTML Signature button on the preview page, which will automatically copy the contents of your HTML signature to your clipboard.
Some email clients may require the "raw" HTML code, so if that's the case, you can click the Copy HTML Signature (Raw Code) button in the preview-and-install.html file to copy the selection as raw HTML to your clipboard that way instead.
Once you've copied the HTML to your clipboard, you can follow the instructions below (taken from the excellent guides provided by SignatureHound) to install the signature in your email client.
How to install your HTML email signature in Gmail (Web Mail)

Once logged into your Gmail account, click the Settings Cog in the top right corner.
Select the Settings drop down option.
Scroll down to the Signature section and click Create new.
Enter your new signature name into the modal and click Create.
Copy and paste your signature into the signature editor.
There is currently a bug with Chrome and the way it performs the copy/paste that causes your signature's links to appear underlined. Please complete the signature install process using a different browser such as Mozilla Firefox to resolve the issue. You can go back to using Chrome once your email signature is setup using another browser.
Select your new signature in the For New Emails Use drop down.
Ensure you scroll the bottom of the page and click Save Changes.
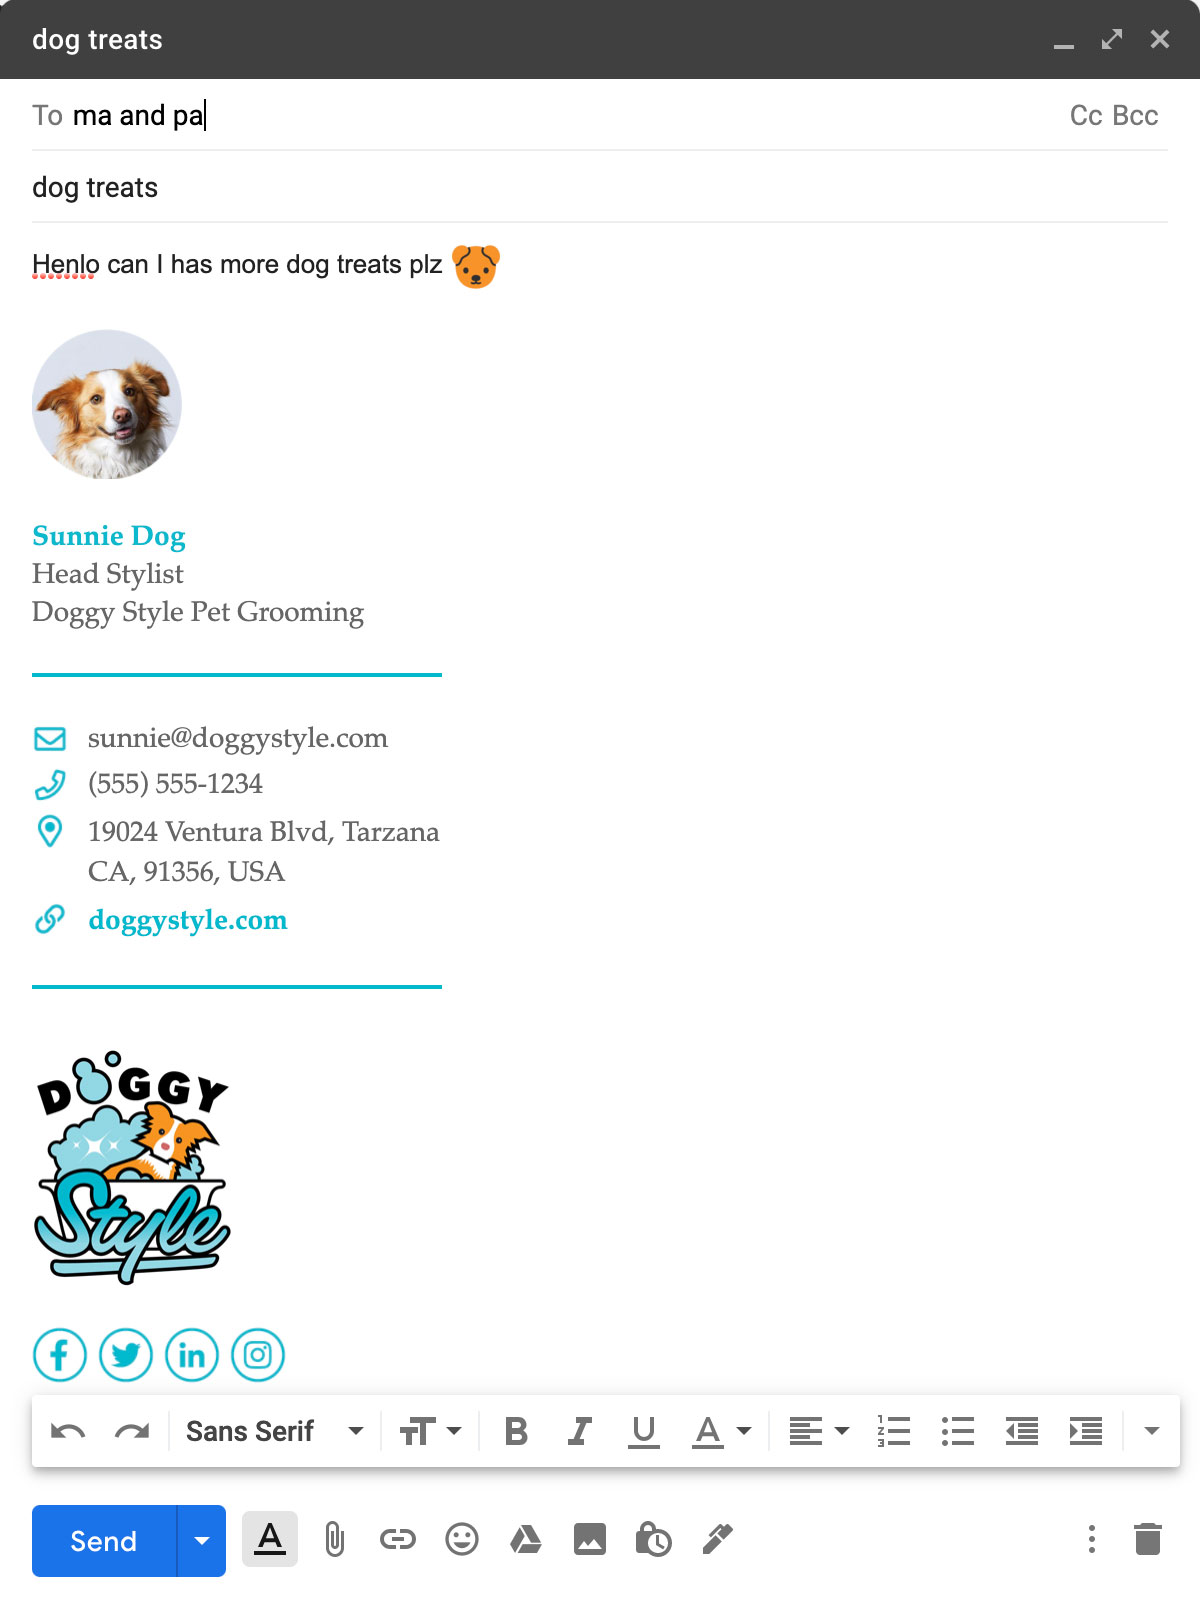
Compose a new email and enjoy your new signature!
Looking to also send this signature through the Gmail iOS app? View the Gmail iOS App instructions.